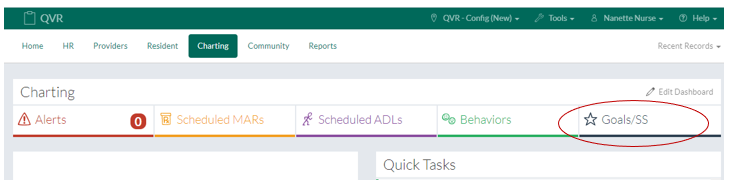
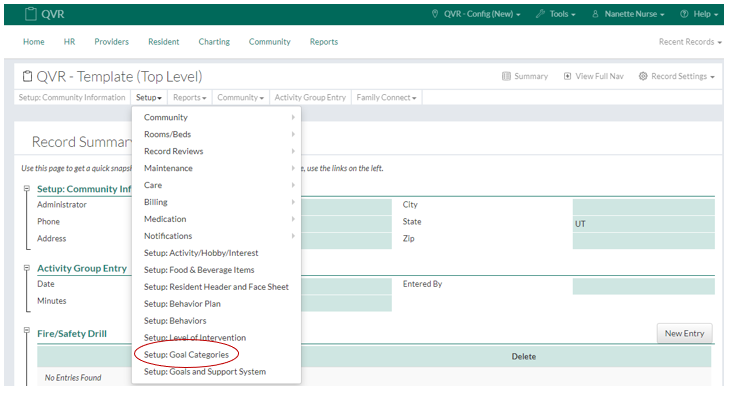
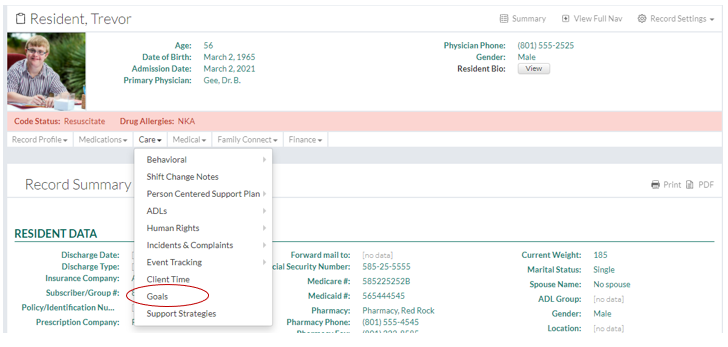
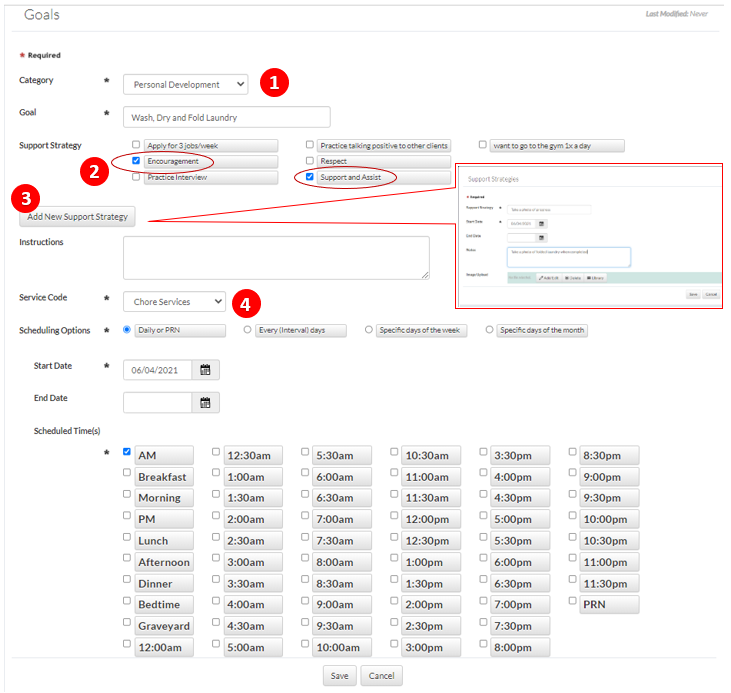
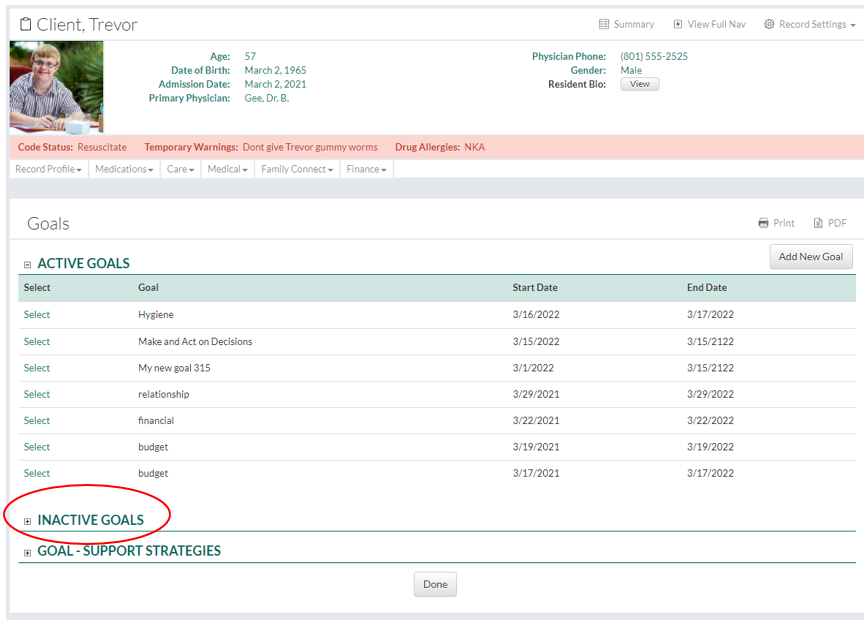
In This Help Topic08. A - Goals and Support StrategiesHow to setup goals and support strategies in the Community Record. How to create a new goal and support strategies for a client. How to chart the Goal. Setup Goals and Support StrategiesGoals and Support Strategies can be accessed through the Charting Drop Down Menu or the tab on the main Charting buttons 1. For the initial setup of "Setup Goals and Support Strategies", navigate to the Community drop down menu and then select the Community Record link. 2. Navigate to the "Setup" dropdown menu and select the "Setup: Goals Categories" link. 3. Click the "New Entry" button to enter general categories for goals. These may include categories like: Financial, Personal Development, Spiritual, Educational, Relationship, Physical, and Health. Adding Goals and Support Strategies to a Client1. Add a new Goal an Support Strategy by selecting a Client. 2. Select the "Care" dropdown menu and click on the "Goals" link 3. Any previously active goals will be displayed. To enter a new goal, click the "New Entry" button. 4. Fill out the Goals form:
To complete the Goal, schedule the goal and then click the "Save" button.
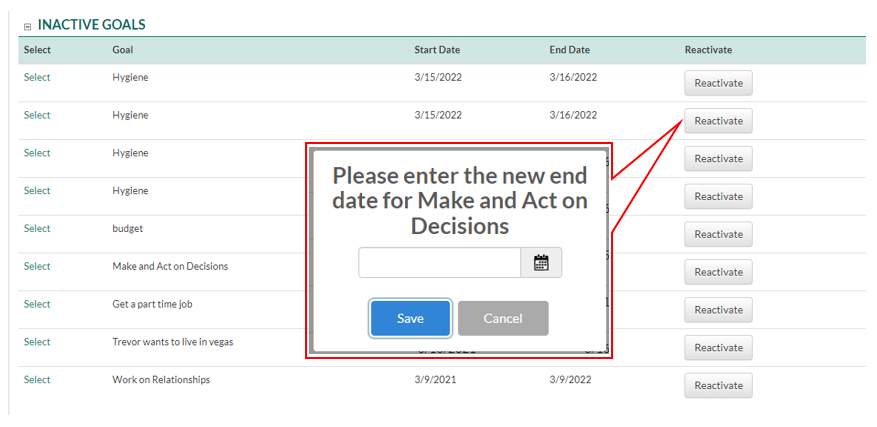
5. Reactivating an Inactive Goal 1. Select the inactive goal
2. Click the Reactivate button 3. Enter in a future end date, then save
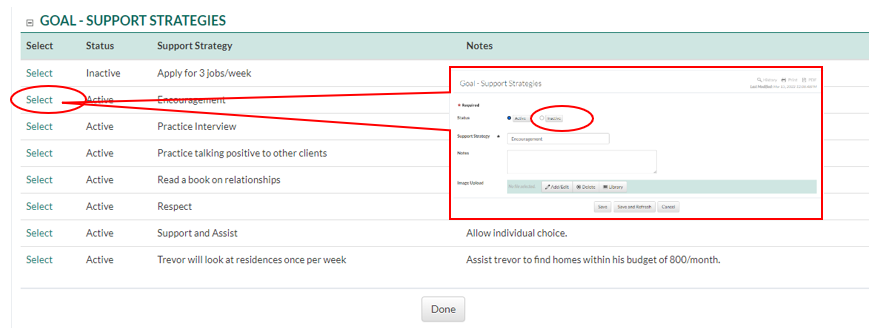
6. Making a Support Strategy inactive 1. Select the Support Strategy 2. Select the Inactive button, then save
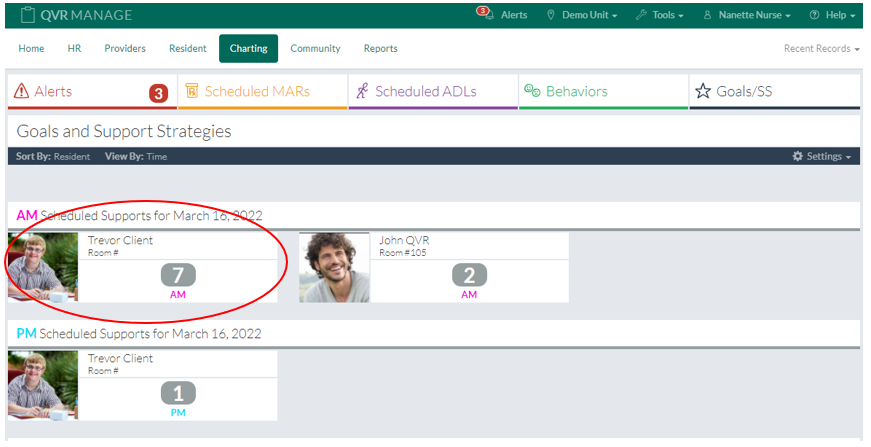
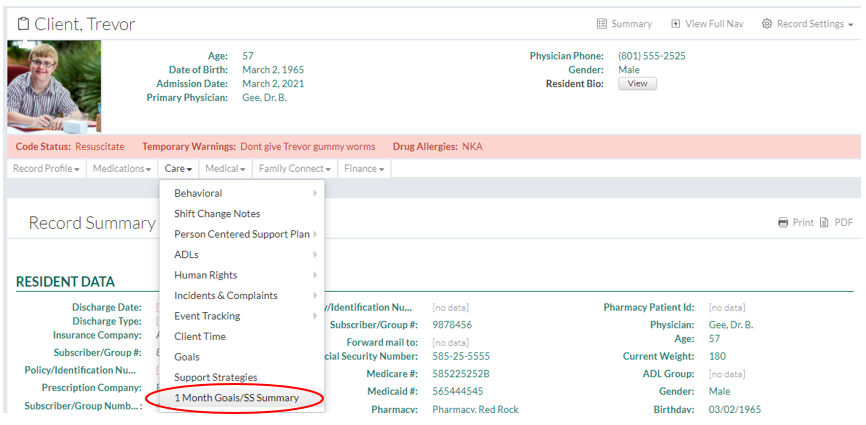
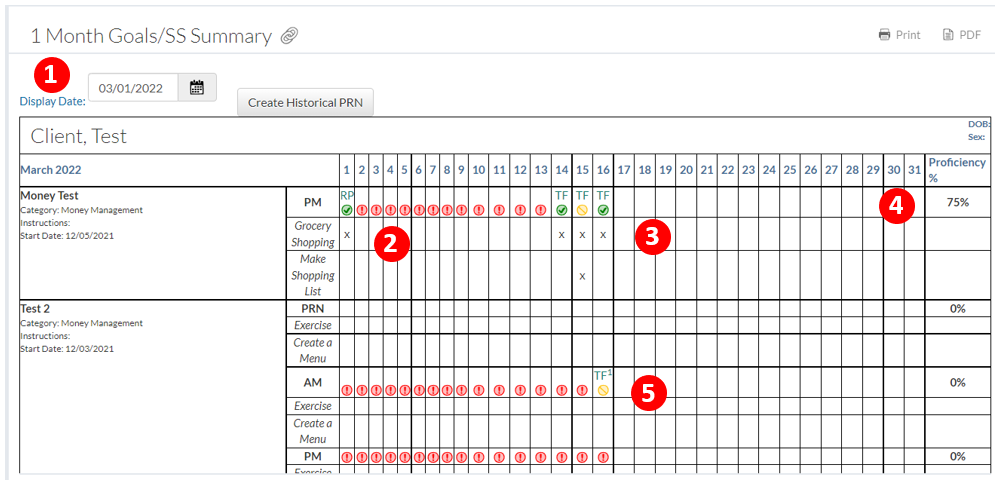
Charting Goals and Support Strategies1. Chart a Goal by navigating to the charting home page and clicking on the tab "Goals/SS" or by creating a quick task link in your "Quick Task" module. 2. Select the client that has scheduled goals to be charted on. 3. Chart the Goal by: 1. Clicking the staff signature 2. Selecting one or more support strategies that were used 3. Selecting "Yes" or "No" if the client was successful in completing the goal. If "No" is selected, indicate what was prompt or action was taken by the staff. 4. If an exception is needed like "Absent" select the exception dropdown menu. 4. Navigate to the 1 Month Goal/SS summary by selecting a client and clicking on Care>1 Month Goals/SS Summary 5. Review a clients monthly progress 1. Change the display date to any month to review or print 2. Sign off on any missed goals by clicking on any red exclamation icon. 3. When a goal is completed with a "Yes" it will have a green check icon. When a goal is completed with a "No" it will have a yellow circle with a line. 4. The tolal proficiency is calculated on Yes or No completions of a goal. 5. When an absent is selected as an exception when completing a goal, it will be indicated by a number next to the staff signature, and will not be calculated for or against a proficiency total |