Learn how to upload documents into a resident's record. Keep in mind that the process to upload a document is the same throughout the system. The example given below is just one of many locations where documents can be uploaded.
Upload a Document
Click on "Select Resident" under the "Resident" tab.
2. Select a resident.
3. Click "Individual Worksheet" under the "Resident Information" dropdown.
4. Click on the "Medical Documentation" header to expand the section.
5. Enter the information for the document. In this case enter a document type and select the date.
6. Click the "Add/Edit" button to add the document.
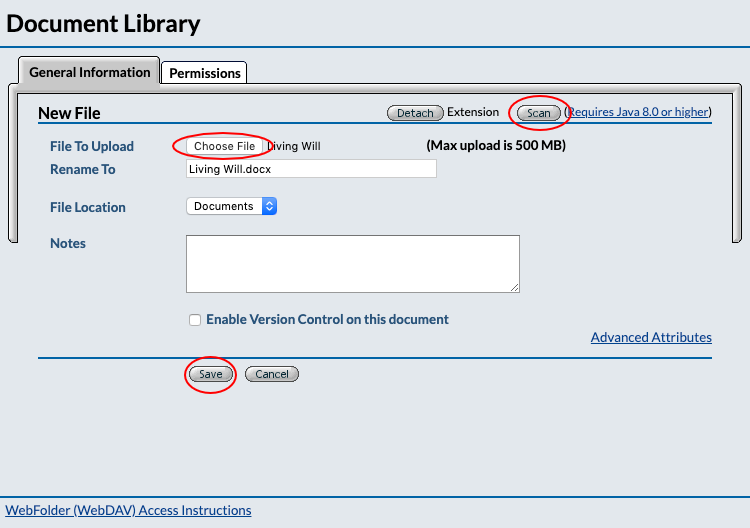
If a scanner is linked to the computer, the document can be scanned directly into the system by clicking on the "Scan" button.
Click the "Choose File" button to select the document from the computer's files.
Click the "Save" button to upload the document.
When uploaded successfully, the document name will appear.
7. Click the "Save" button to finish.
Access an Uploaded Document
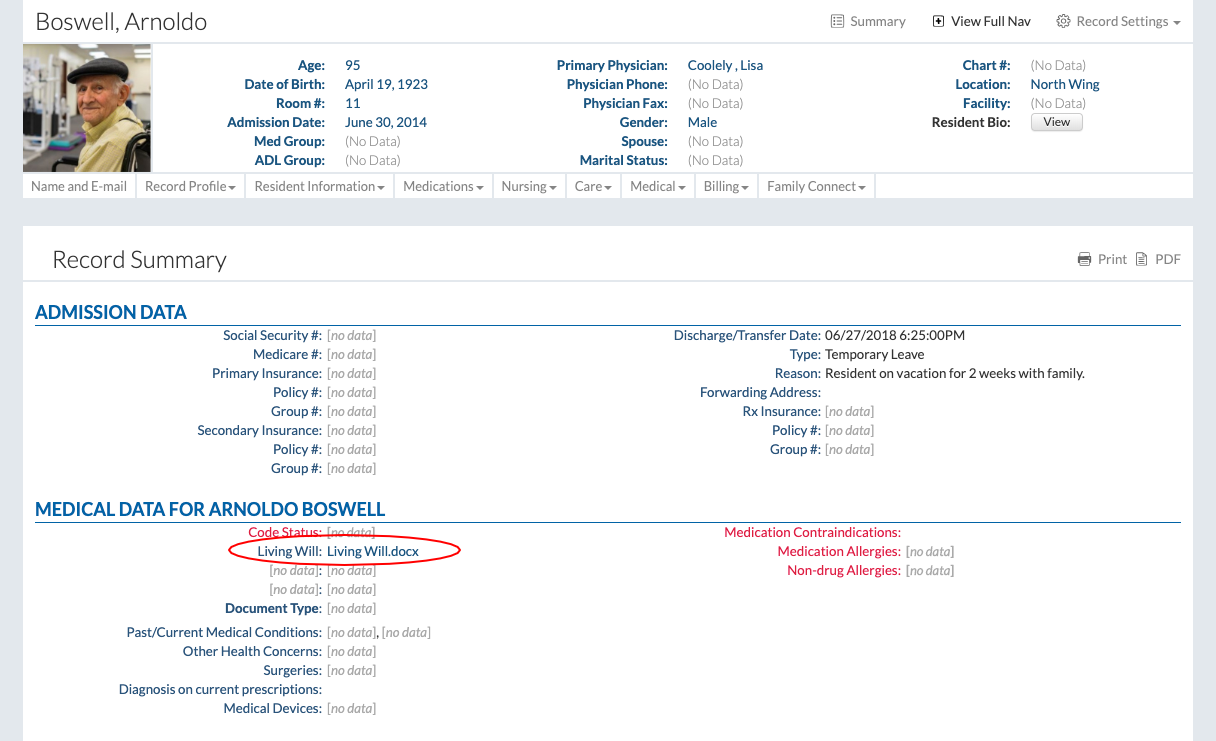
Whenever a document link is displayed, click on the link to download the document.
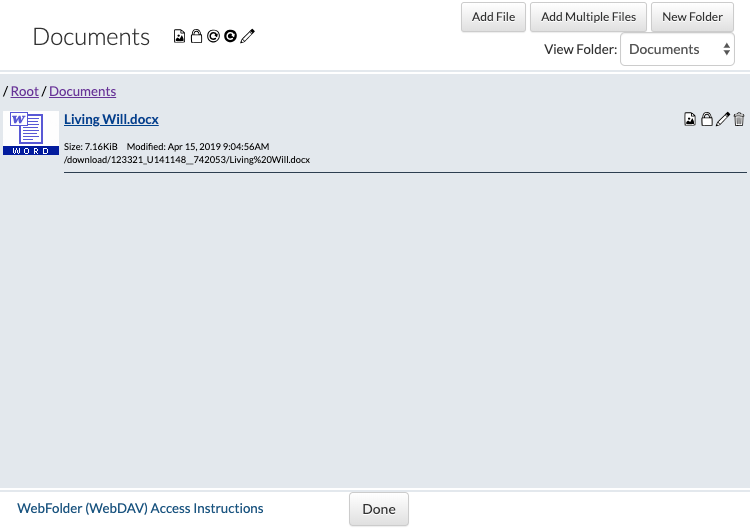
Another way to see all the files for a resident is to click on the "Library" button in the document upload navigation.
Documents can be viewed, uploaded, and organized in this window.